
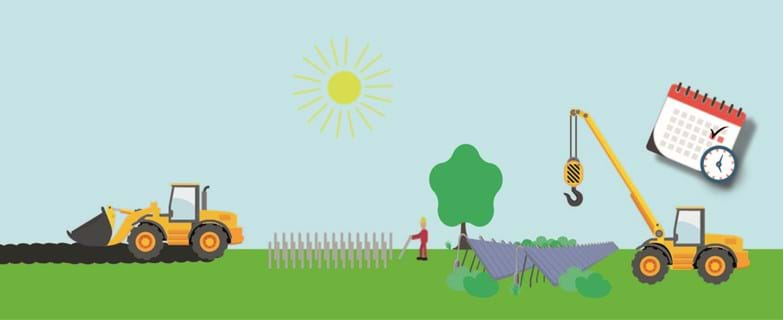
Step 1
Concept and Design Planning Foundation

The initial concept for the solar thermal energy plant is born and the planning begins. The first step? To find a suitable plot of land. Some may already have the land, and are interested in an estimate of how many solar collectors can be installed to find out how much energy can be produced. Others may have a goal for how much energy they wish to produce, and need to know how much land to acquire to support this.
When the site has been found, the next step is to estimate how many solar collectors it can hold and how to place them. At the same time, we analyze how the existing energy sources will coordinate with the addition, and what kind of consumption pattern the district heating plant has. Completing this kind of ground work is critical for getting a good solar thermal plant.
At CG Solar & Teknik ApS, we evaluate the district heating plant's operational standards and patterns in an analysis based on the plant's historical data. This helps set a solid foundation for decisions about the size and reach of the future solar thermal plant.
The financial perspective is an important part of a solar thermal project, and needs to be calculated based on the investment needed as well as the yields from the solar heating. Based on data from our vast experience and our thorough knowledge of the industry, we can help estimate and consult on the investment as well as the economic yields. We consider more than just the "fuel costs" - we also take service, maintenance and options for optimization into consideration. Most times, it is possible to identify additional energy optimizations when a solar thermal plant is integrated into a heating plant by making more use of the middle- and low-temperature energies.
Step 2
Detailed Planning
When the initial planning is in place, it is time to dive into the details. In this phase, the design, size and reach are the important factors. The project planning is completed so the installation and commissioning are easily and efficiently executed.
The detailed planning of pipes in the ground, solar collectors and the coordination between the contractor, consultant and district heating plant are all important tasks that we have years worth of experience owning.
The integration of the solar thermal plant – both hydraulically, thermally and control-wise – are necessary to have defined early in the process. Possible operations scenarios, potential interlinked operational challenges, and automations between the production segments all need to be thoroughly planned out in collaboration with the district heating plant's operational team to make sure all expectations and wishes are aligned.

Step 3
Installation
A typical installation process takes place on two fronts: in the field and in the technical building. It is possible to set up installations in parallel or staggered succession.
Installation of Solar Collectors on Site
- It is necessary to research the site's restrictive covenants and contact LER, the Danish administration for cable networks, as both will most likely influence the reach and installation methods available for the solar thermal plant.
- When the solar thermal plant's size and placement have been planned, the land surveyor will place markers for the pipeline system, which will be delivered as a finished system that is welded together on site.
- The pipes will be welded together on site in long stretches, and are then buried in the ground according to the surveyor's markings. It is important that the pipes are placed meticulously as this leads to the best results for the finished installation.
- When the pipes are buried, the placement of each riser pipe is measured and marked, and the location of the profiles for the solar collectors are calculated. The surveyor places markings for the installation of the profiles.
- Galvanized steel profiles are rammed into the ground based on static calculations and the solar collectors are installed using a crane. For larger installations, ramming the profiles and installing the solar collectors can happen simultaneously.
- When the solar collectors, pipes and valves are installed, the finished installation is pressure tested and prepared for going live.
Installation of Technical Package
- When the installation of the technical package takes place, it includes a pump unit, heat exchanger, pipe bridge, valves, expansions sytem, control system, and more.
- The package is typically partially fabricated so that it can be customized on site and fit into the existing pipe system in the technical building.
- In some cases, a new technical building will be built and in this case, the installation will generally be more advanced.
- When a technical package is connected hydraulically to the solar thermal plant on the primary side, and the heating plant on the secondary side of the exchanger, an electrical function test, pressure test and preparation for a wash and start up needs to be performed.
- Before the solar thermal plant is filled with glycol, the pipes in the ground are flushed to collect any left-over particles or dirt.
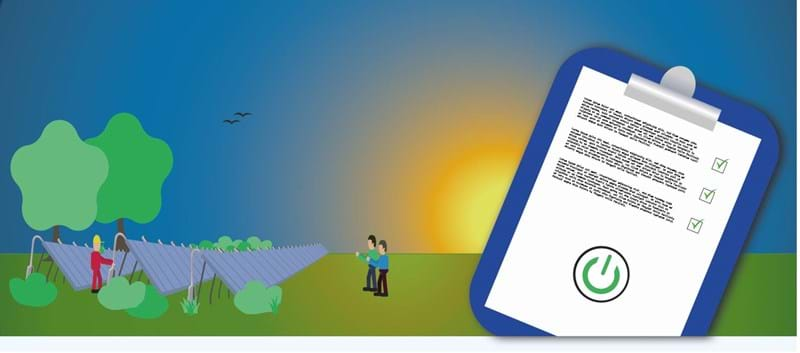
Step 4
Commissioning and Monitoring
When a solar thermal plant has been installed, tested and is ready for commissioning, it is important that the district heating plant is ready for the new energy source.
After the finished installation phase, all the pipes in the ground (which connect the solar collectors) will be filled with liquid glycol, but the collectors themselves will not yet be filled.
The start up begins by opening every single row, one at a time, while simultaneously airing out the row. At this point, it is important to work at a fixed pace and seamlessly to ensure the rows are being aired out as effectively as possible.
Each row of collectors as a a balancing valve mounted. During the planning phase, we calculate the correct degree of openness for the flow balance of the entire solar collector site.
Depending on what time of year the plant is commissioned, the start up will typically take place in the evening when the solar irradiation is suitably low.
Once the solar collector site has been commissioned, the system will be ready to operate once the sun rises. This also means it is not possible to simply stop the solar thermal plant again.
This means there are conditions for the preparations that need to be approved before the plant is commissioned:
- The pump unit and operational system needs to be tested in all its functions.
- The district heating plant needs to be able to handle the incoming amounts of energy from the solar thermal plant.
- The operational team needs to be suitably trained in the solar thermal plant's functions and operations practices so they are ready to run the plant.
Naturally, the sun is not an energy source that can simply be stopped and so the solar thermal plant will continue to produce energy as long as the sun is shining.
Solar thermal plants are never completely alike, and there will always be a part of the commissioning phase where it is important to have a constructive dialogue between the solar thermal plant supplier and the operational team on site.
We always recommend a close collaboration with the district heating plant - especially in the first peak season - so the operation can be optimized.
With our wide experience with different operational practices from existing solar thermal plants, we can assist with monitoring and identifying possible optimizations that ensures optimal performance.
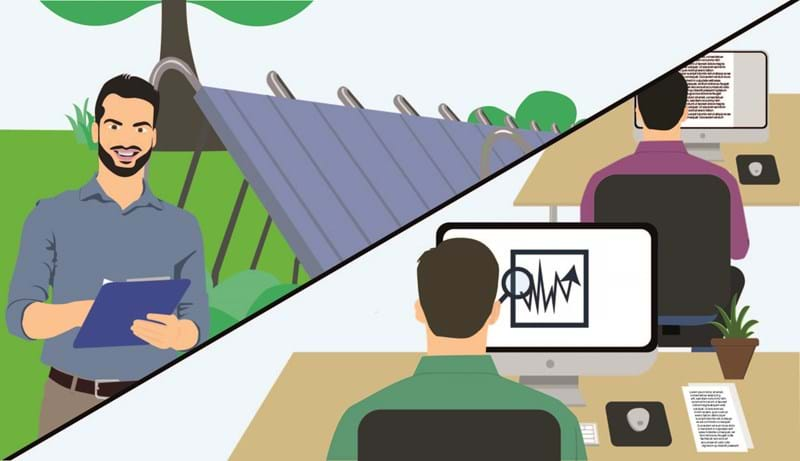
Step 5
Optimization, Training and Integration
Within the first season with solar thermal operations, it will be possible to identify potential optimizations and possible challenges regarding integrated operations with existing energy sources.
By diving into the operations data history of both the new solar thermal plant and the existing district heating plants, it will be possible to identify possible energy optimizations and also potential problems with the integrated operations.
It is not always the case that unwanted operations are discovered with the momentary values the plant's SCADA presents. Sometimes it is necessary to take a step back to get a better view of the operations.
Our engineers have the experience and tools to collect and analyze large amounts of operational data, create calculations and draw conclusions. We can also communicate and present this, and in collaboration with the control systems supplier, create the necessary changes to support the optimization options.
If you would like additional training in the functions, learn how the solar heating operations can be influenced, or technical onboarding of new employees, feel free to contact us.

Step 6
Performance, Service and Maintenance
A solar thermal plant with regular service checks and maintenance means security and a solid yield.
We recommend getting an annual service check for the plant so you have a complete overview of the plant's condition, and are able make necessary, pre-emptive repairs before it is too late. This way the risk of collateral damage and lost production is minimized.
Part of the maintenance is also found within the solar thermal plant's yield, as well as its monitoring. By regularly pulling operational data, it is possible to continuously monitor the parameters that benefit the technical installation, such as the system pressure over time and the yield and utilization profit of the solar thermal energy in the context of the whole plant.
While monitoring the yield and other specific points, such as the temperature level, it is also easier to see the effect of the changes. This applies to both the direct changes from the solar thermal plant but also the new energy sources and optimizations of the plant.
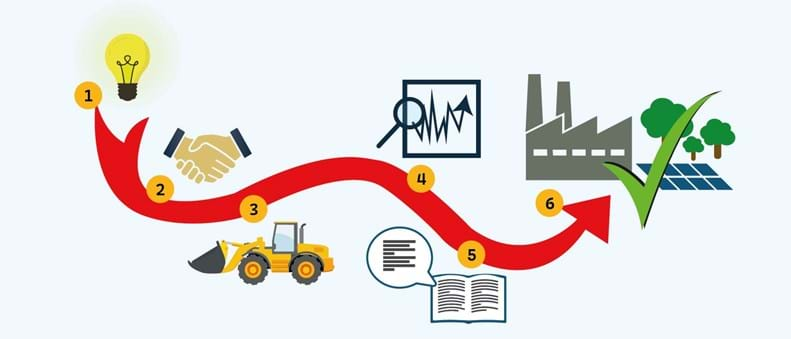
That was the relatively brief summary of the 6 steps.
We hope that you have a better understanding of the process behind establishing a solar thermal plant.
Feeling up to trying out a solar thermal plant?
Contact us to hear more about how we can help you get started